THE FIXING THAT DISAPPEARS
Mount.
No drilling.
Assembly that’s easy to understand. A discreet fixing. And the freedom to adjust your composition.
Discover the kitExplore the assembly at your own pace.
Read the installation guideUnderstand the assembly.
01 / 04Each piece has its place.
Identify the adhesive sheet, the wall piece and the object piece. The exploded view shows how they fit together.
The object is shown transparent to reveal the pieces.A simple idea.
A detail that changes everything.
Your objects find their place.
The fixing stays out of sight.
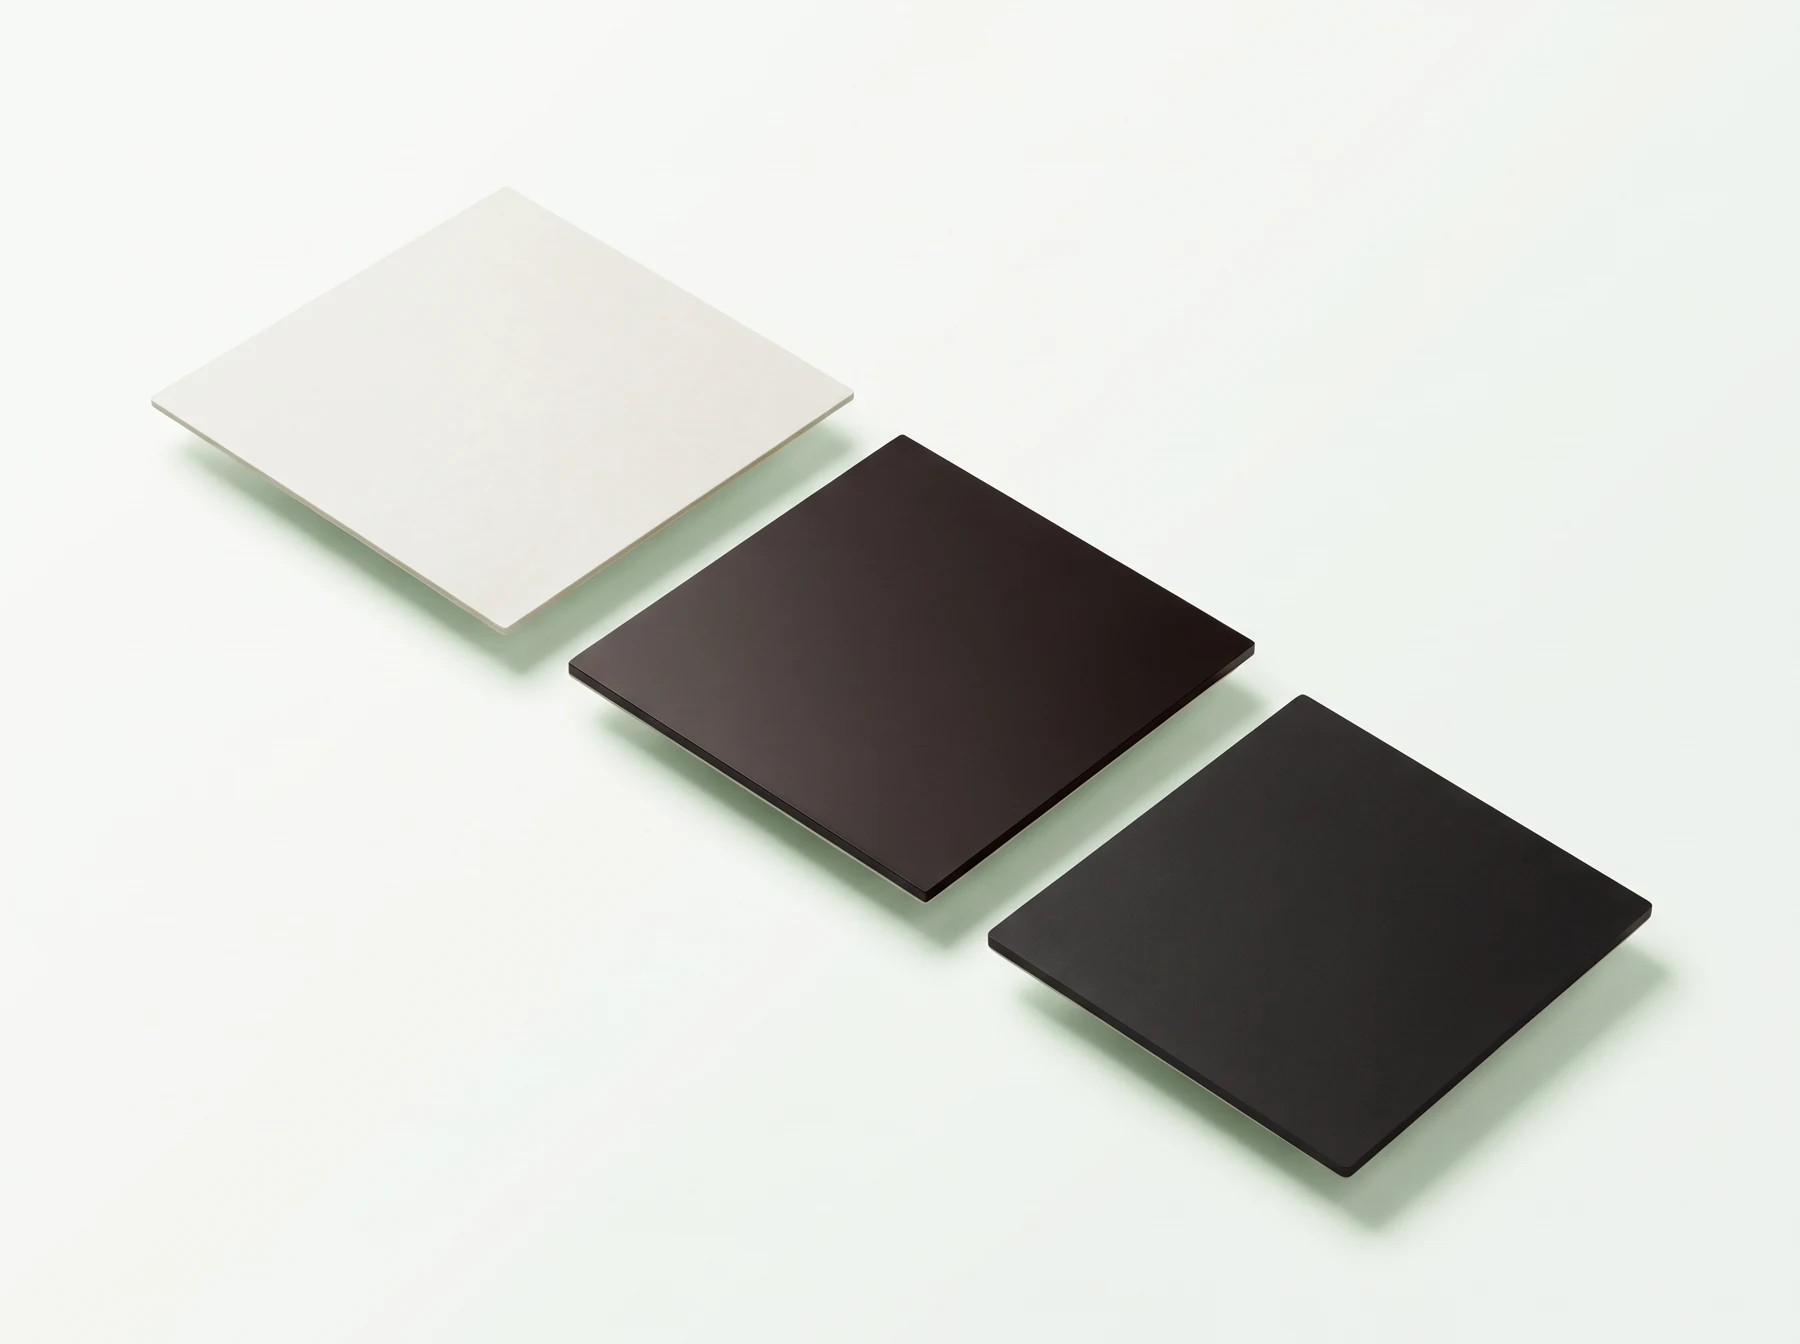
Three pieces.
One system.
Hidden behind the object, Flexfixe combines an adhesive sheet with two fixing pieces. A simple way to mount your flat objects without drilling.
 01
01The adhesive sheet
The first layer, applied to a suitable surface.
 02
02Pieces A and B
The two matching pieces that connect the object to the wall.
 03
03Your alignment
Adjust by hand to find the right position.
This view shows the differences in size and finish between the pieces.
Understand the installationFind the right balance.
One panel, a series, a composition.
Alignment makes all the difference.
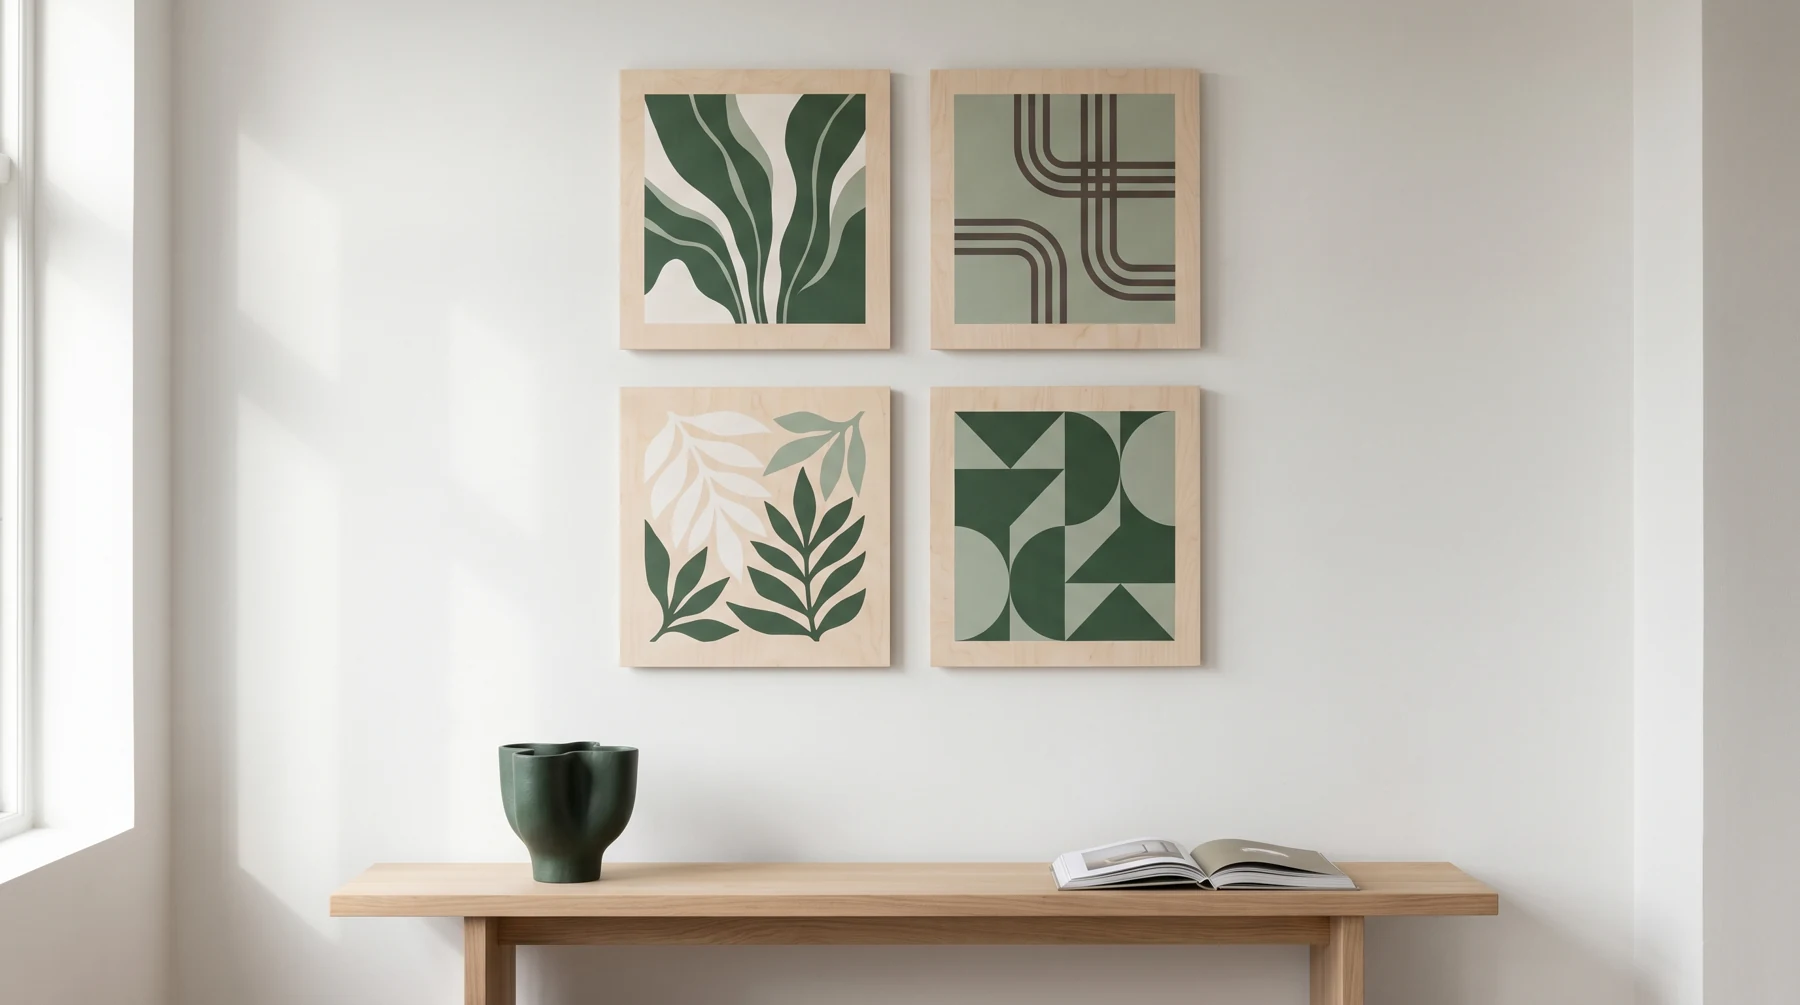 Room for your ideas.
The detail that
changes the whole.
Move the central panel in this demonstration to create a harmonious line. With Flexfixe, you adjust the object by hand.
Adjust the position with the sliders.
A simple action.
A careful installation.
A good fixing starts with preparing the surface. Take time to follow each step.
THE HIDDEN DETAILA fixing behind the object.
- 01
Prepare the surface.
The wall must be smooth, clean and dry. Check that its finish meets the instructions.
- 02
Apply the adhesive sheet.
Apply it flat, without creases or bubbles. Press the entire surface and corners for at least 5 seconds.
- 03
Install the pieces.
Follow your kit’s labels. Press the wall piece for at least 5 seconds, then prepare the back of the object according to the instructions.
- 04
Mount, then adjust.
Bring the two pieces together and adjust your object’s alignment by hand. Check that it holds before finishing.
What about your wall?
Check the installation conditions.
The instructions require a smooth, clean, dry surface. Check the condition and adhesion of the wall finish before applying the adhesive sheet.
Your questions,
answered simply.
Prepare for your installation.
Can I adjust the alignment?
Yes. Flexfixe lets you adjust the object’s position at the fixing point. Adjustment is manual: check the alignment of your composition before finishing the installation.
What are the A and B labels for?
They identify the two fixing pieces during preparation. Keep track of the labels and follow the installation order in your kit’s instructions.
Can it be used on any wall?
The instructions specify smooth, clean, dry surfaces. They exclude textured render, textured wallpaper and washable wall paint. Check the finish before use.
Does removal leave no marks?
Not drilling does not guarantee mark-free removal on every finish. The result depends on the surface and its condition. Follow the removal instructions for your product version.
Which objects can I mount?
Flexfixe is designed for flat objects compatible with the system. Before installation, check the permitted load and your object’s compatibility in the specifications for your product version.